When one strip of a field grows poorly while the neighbouring crop looks normal, adding more fertilizer is not always the best first move. Soil compaction is one possible reason: pressure has reduced pore space and made the soil harder for roots to explore. Before buying another input or booking deep tillage, compare the affected area with a better-growing patch.
This guide helps Indian farmers organise those checks, ask useful questions and plan the next operation. It is a field-planning guide; a photograph, a hard clod or one poor crop cannot establish the diagnosis on its own.
What Is Soil Compaction?
Soil compaction occurs when particles are pressed closer together. Loss of larger pores can restrict water movement and gas exchange, while increased soil strength can make root penetration harder. The University of Minnesota Extension explains that these changes can affect crop establishment and access to water and nutrients.
Compaction may occur near the surface or deeper in the profile. A loose seedbed does not establish that the soil beneath it is unrestricted. Likewise, a firm surface during dry weather is not enough evidence to justify subsoiling.
Signs Worth Investigating in the Field
Look for patterns rather than relying on one symptom. Ontario's crop-diagnostics guidance describes restricted, deflected or unusually horizontal roots as possible clues to a physical barrier.
- Growth follows traffic patterns. Mark weak strips near wheel tracks, turning areas and field entrances.
- Roots change direction. Check whether roots turn sideways or become restricted at a similar depth across several locations.
- Water behaves differently. Record where ponding persists after rainfall or irrigation, then investigate drainage and soil conditions.
- The problem repeats. Compare this season's observations with earlier crop maps and operation records.
These observations need interpretation. Nutrient shortages, pests, salinity, uneven irrigation and drainage problems can also produce poor growth. Take photographs and field notes to your local agricultural adviser or Krishi Vigyan Kendra instead of choosing a treatment from appearance alone.
A Simple Soil Compaction Check
Start with a few carefully chosen comparison points. Keep the crop, soil type and moisture conditions as similar as possible.
1. Choose affected and reference locations
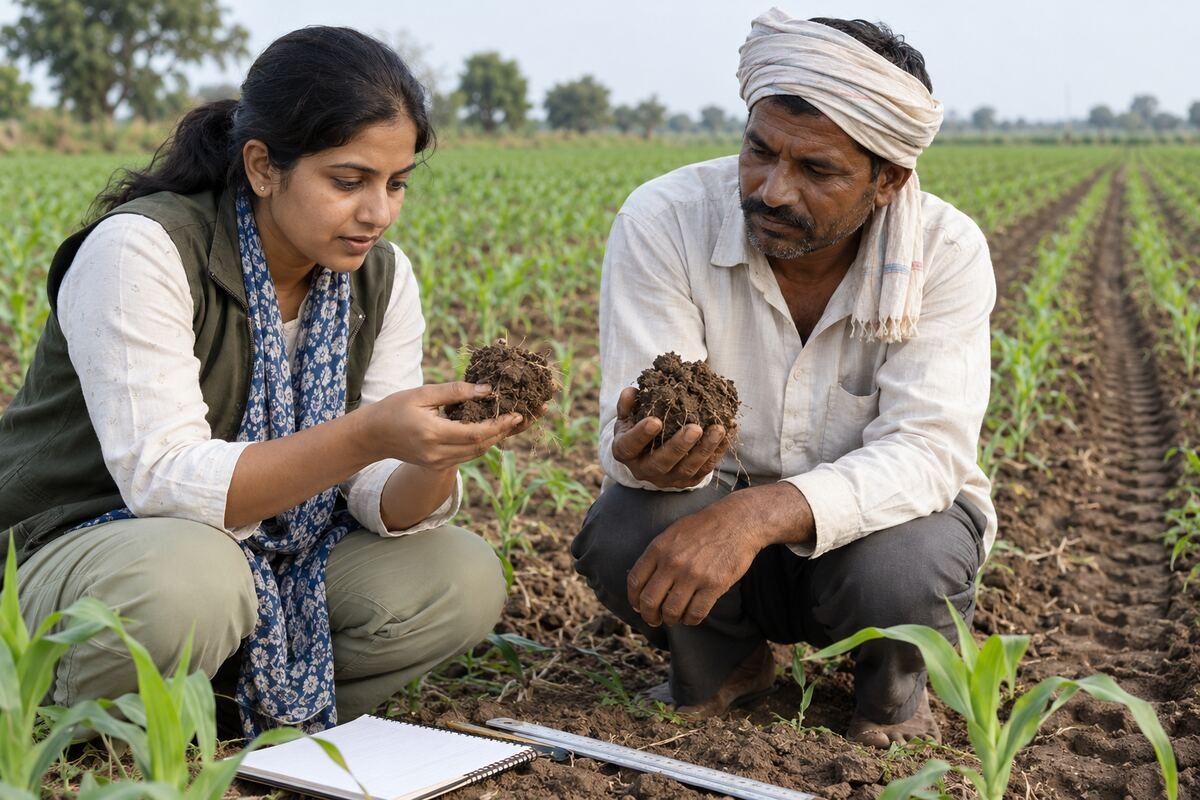
Mark a weak patch and a nearby better-growing area. Add points in wheel tracks and between tracks when those positions are relevant. Label photographs so you can find the same locations again.
2. Examine roots and the soil profile
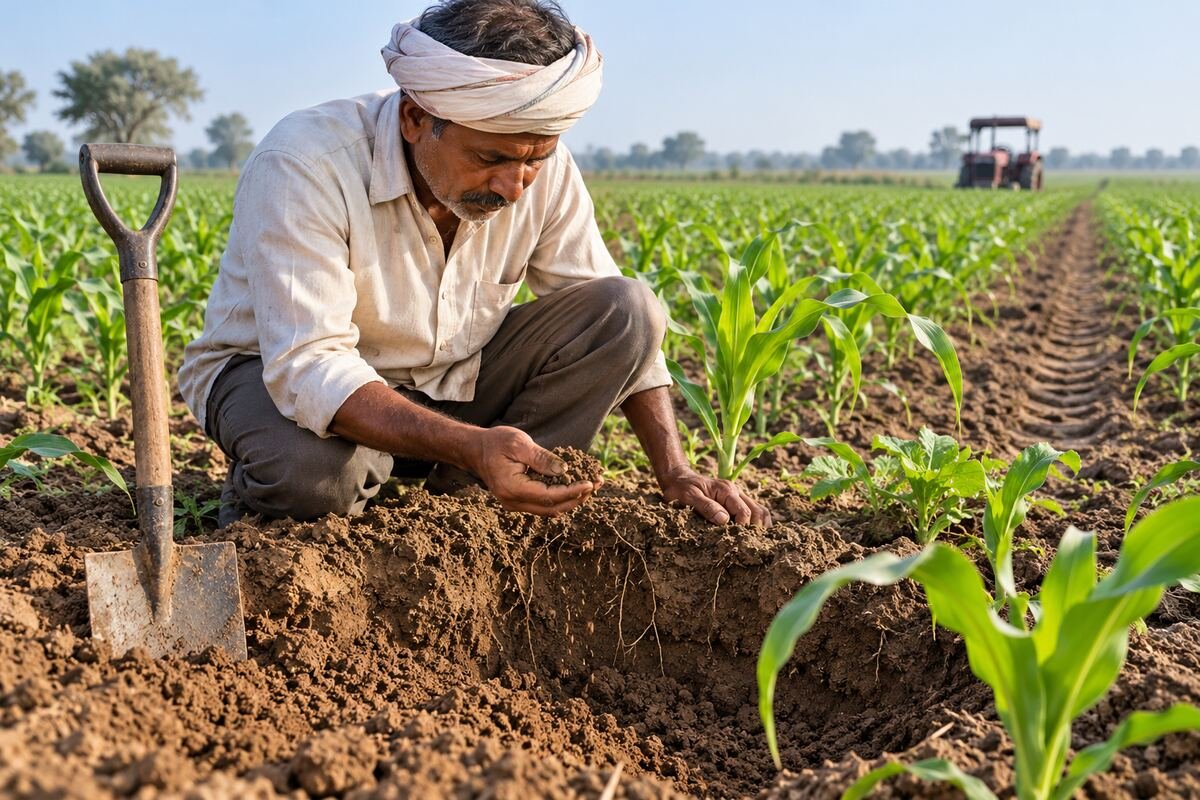
Using a spade, carefully expose roots with the surrounding soil. Note where roots branch, turn or stop, and record the depth of any repeated change. Avoid pulling plants straight out: broken roots can hide the pattern you are trying to inspect. Work safely around irrigation lines and buried services.
3. Interpret resistance at comparable moisture
A probe or penetrometer can help locate changes in resistance. However, dry soil naturally resists penetration more strongly than wet soil. Ontario's guidance therefore stresses moisture when interpreting a probe check. Record moisture conditions and compare several locations; ask an adviser to interpret readings before treating a depth as a confirmed compacted layer.
Plan Management Around the Diagnosis
University of Wisconsin Extension recommends checking what happened during wet-field operations before deciding on repair. Visible ruts alone do not demonstrate that deep tillage is needed.
Review the next machinery operation
Where practical, wait for more suitable soil conditions before entering a vulnerable field. Discuss avoidable passes, traffic routes, loading and equipment setup with the operator. Tire settings must follow the manufacturer's load and speed guidance; a generic pressure from another farm may be unsuitable.
Decide whether mechanical treatment is justified
If a restrictive layer is confirmed, discuss its depth, extent and the appropriate operating conditions with a qualified adviser. Deep tillage has fuel and equipment costs, and its benefits are variable. Include a plan to prevent the same traffic or wet-soil conditions from recreating the problem.
Fit soil-building practices to the farm
Cover crops may contribute to managing compaction, but species choice and establishment conditions matter. Discuss a realistic planting window, water budget and termination plan. For a related planning framework, read our crop rotation for soil health guide.
Where Soil Tests and Biological Inputs Fit
Keep physical diagnosis and nutrient planning connected. A routine nutrient report does not, by itself, locate a mechanically restrictive layer. Ask the laboratory or adviser which physical measurements are needed if field observations suggest one. Our soil-testing before biofertilizers guide explains how to prepare a field history for an input discussion.
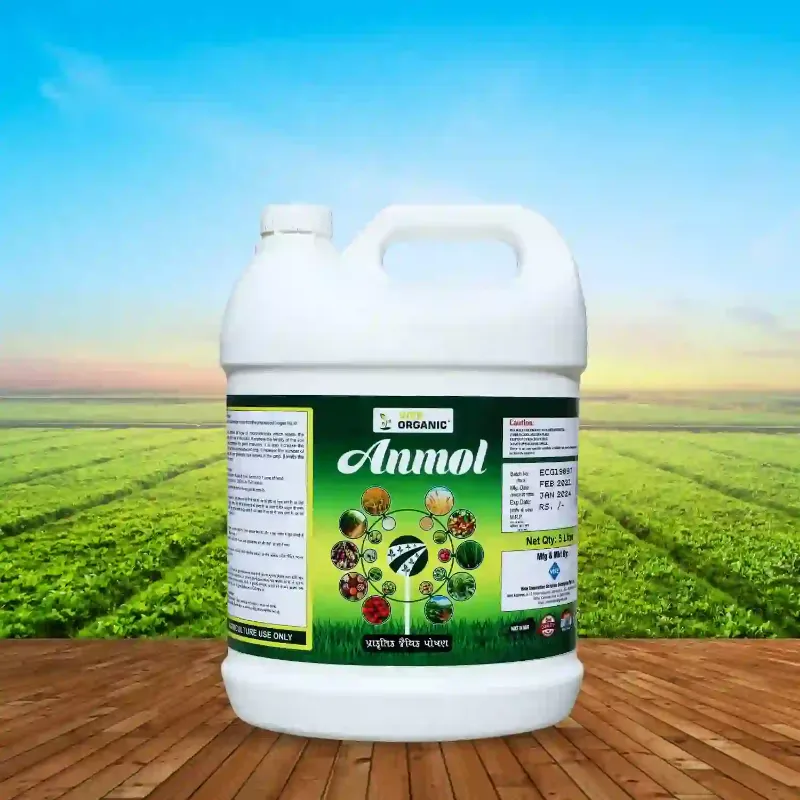
Do not select a biofertilizer on an unsupported promise that it will remove a hardpan. Ask what the specific formulation is intended to do, whether it suits the crop and how its label directs use. Soil-management decisions should have a clear purpose and a way to evaluate the result.
Keep a Short Field Record
Before changing management, write down what would count as a useful improvement. A simple record makes the next review more informative.
- Field name, date, crop and growth stage.
- Comparison locations and photographs.
- Recent rainfall, irrigation and soil moisture at inspection.
- Observed root pattern and depth of resistance.
- Machinery operations and any management changes.
- Establishment, harvest results and costs from the marked areas.
Keep weather, variety and irrigation differences alongside the results. Improvement in one season is useful evidence for a follow-up discussion, but it does not establish which single change caused the response.
Frequently Asked Questions
Is every hard soil compacted?
No. Dryness and natural soil characteristics also influence hardness. Compare locations under similar moisture conditions and examine roots and the profile.
Can I diagnose compaction from ponding alone?
No. Ponding is a reason to investigate, but drainage, soil texture, irrigation and other factors may contribute.
Does a penetrometer give a complete diagnosis?
No. Resistance depends on moisture and other conditions. Use multiple readings together with root observations and professional interpretation.
Should I deep-rip the whole field after a wet harvest?
Not automatically. First establish whether a restrictive layer exists, where it occurs and whether mechanical treatment is appropriate.
Can cover crops help?
They may form part of a longer-term management plan. Discuss a suitable species and growing window; do not assume that any cover crop will remove every restriction.
Can a biofertilizer replace physical soil management?
Do not assume so. Verify the input's intended role and label instructions, and address diagnosed traffic, drainage or structural constraints directly.
Start With Evidence Before Choosing a Treatment
The most useful first step is a comparison: weak and better-growing areas, wheel tracks and untrafficked soil, and observations made under similar conditions. Use those records to decide what needs attention before the next operation. To discuss agricultural inputs within your wider crop plan, contact Vise Organic with your crop details, soil report and field observations.
Sources and Further Reading
- University of Minnesota Extension: Soil compaction
- Ontario Crop IPM: Compaction diagnosis
- University of Wisconsin Extension: Managing soil compaction at planting and harvest
Article Topics & Tags:
Vise Agronomy Team
The in-house agronomy and field research team at Vise Organic Biotechnology, publishing applied research on bio-fertilizer protocols, crop protection, and sustainable cultivation practices.